01
Phone Triage
We ask what the system is doing: warm air, ice on the lines, water in the pan, or a rising electric bill. That conversation usually narrows the problem to refrigerant or condensate before we arrive, so the technician brings the right tools. Most calls are scheduled same day, and emergency calls are handled around the clock.
02
System Inspection
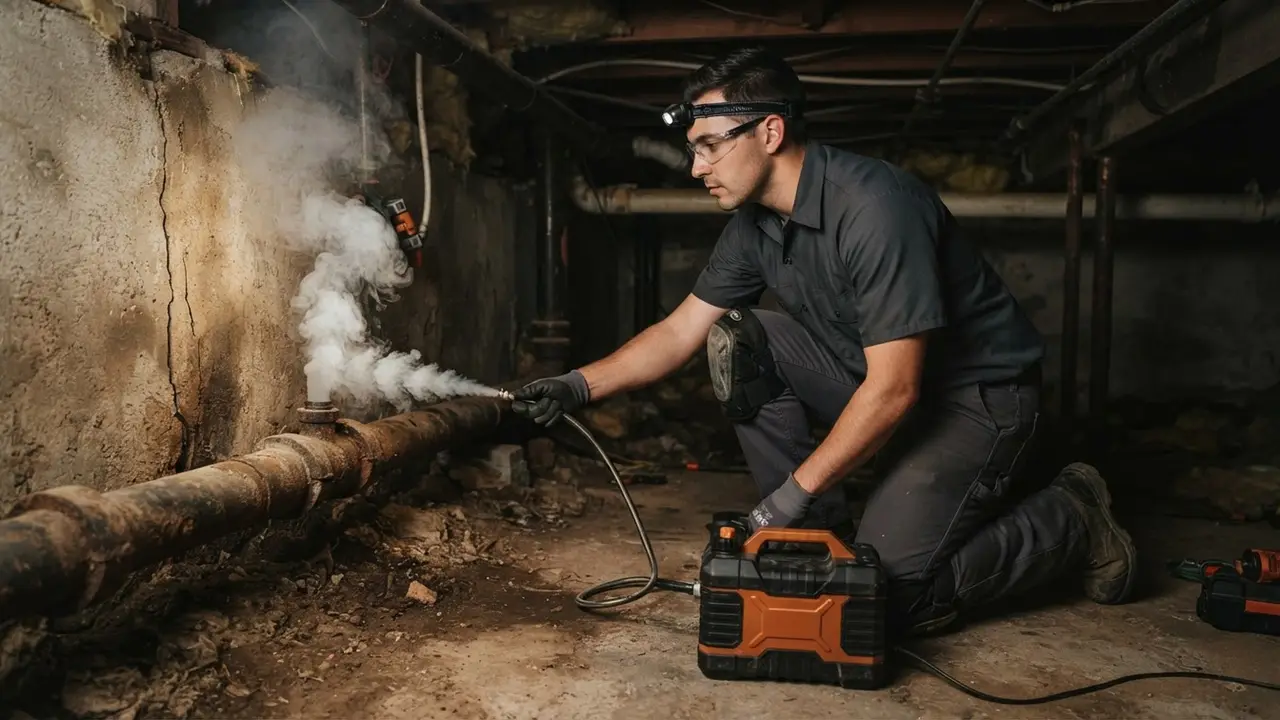
The technician checks pressures, superheat, and subcooling at the service valves, then inspects the air handler, evaporator coil, and accessible line set. A pressure testing gauge on the nitrogen regulator shows whether the circuit holds. This step takes 20 to 30 minutes and tells us whether we are chasing refrigerant or water.
03
Pinpoint the Leak
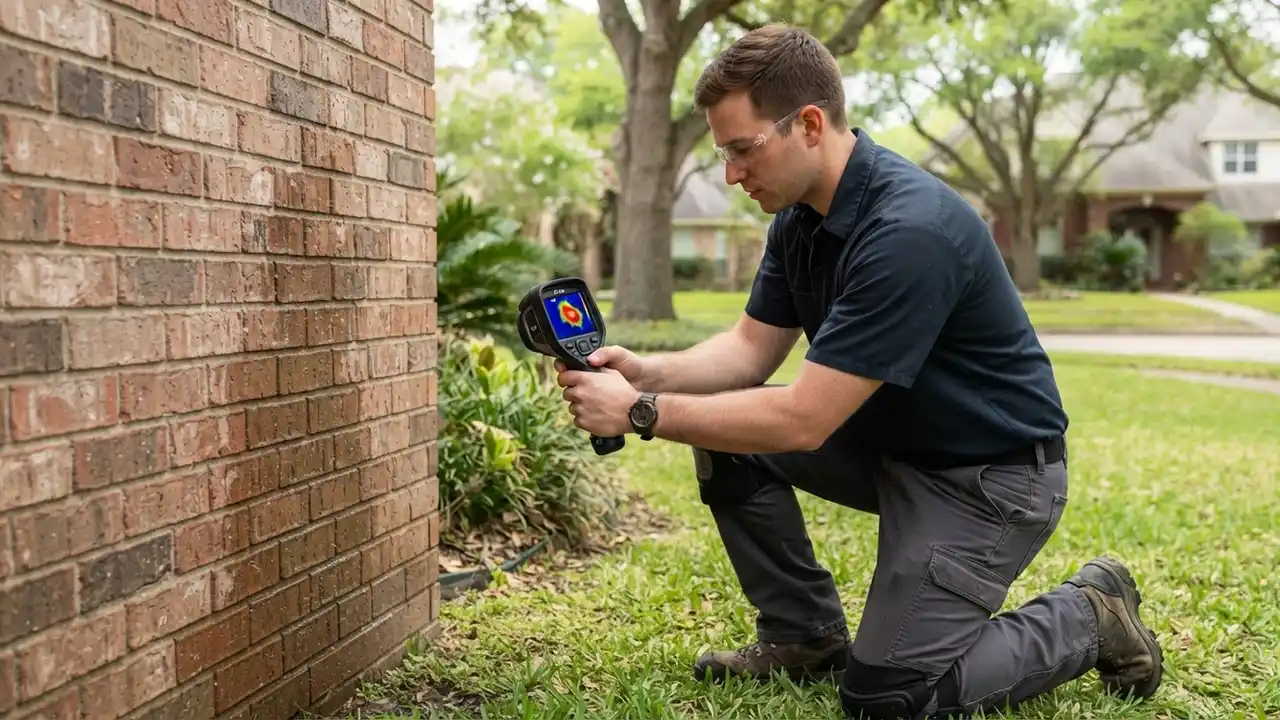
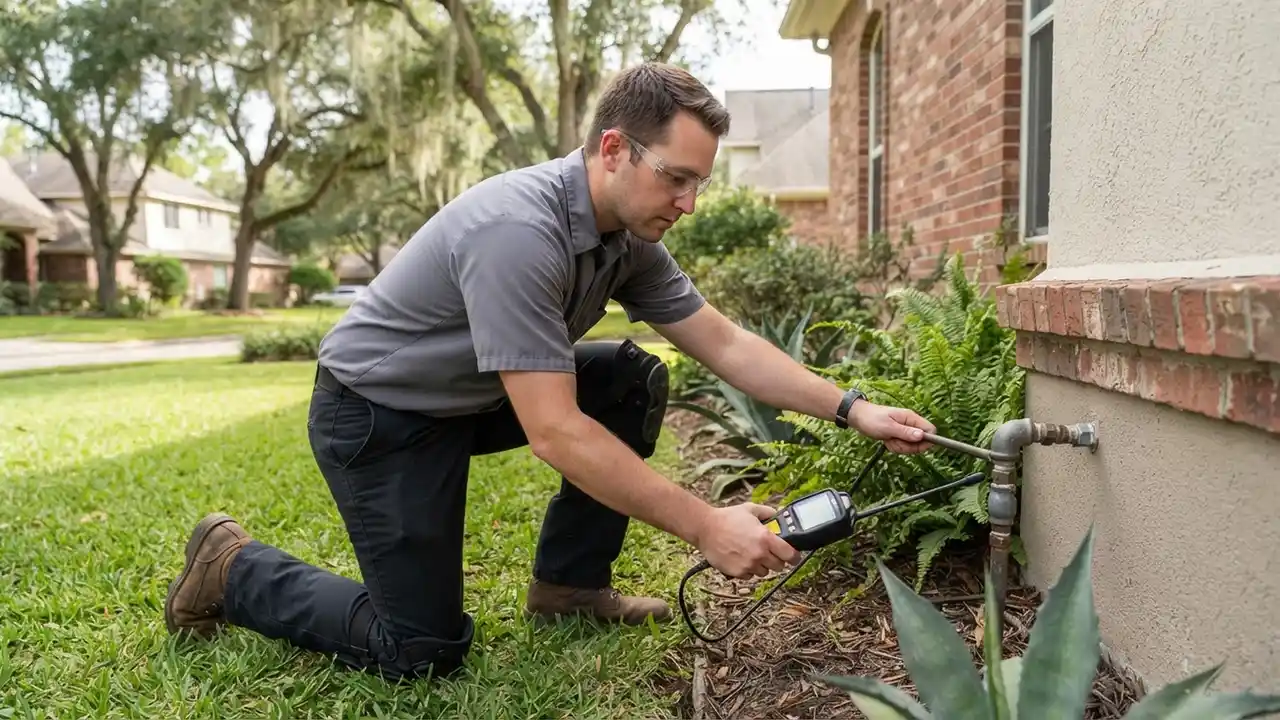
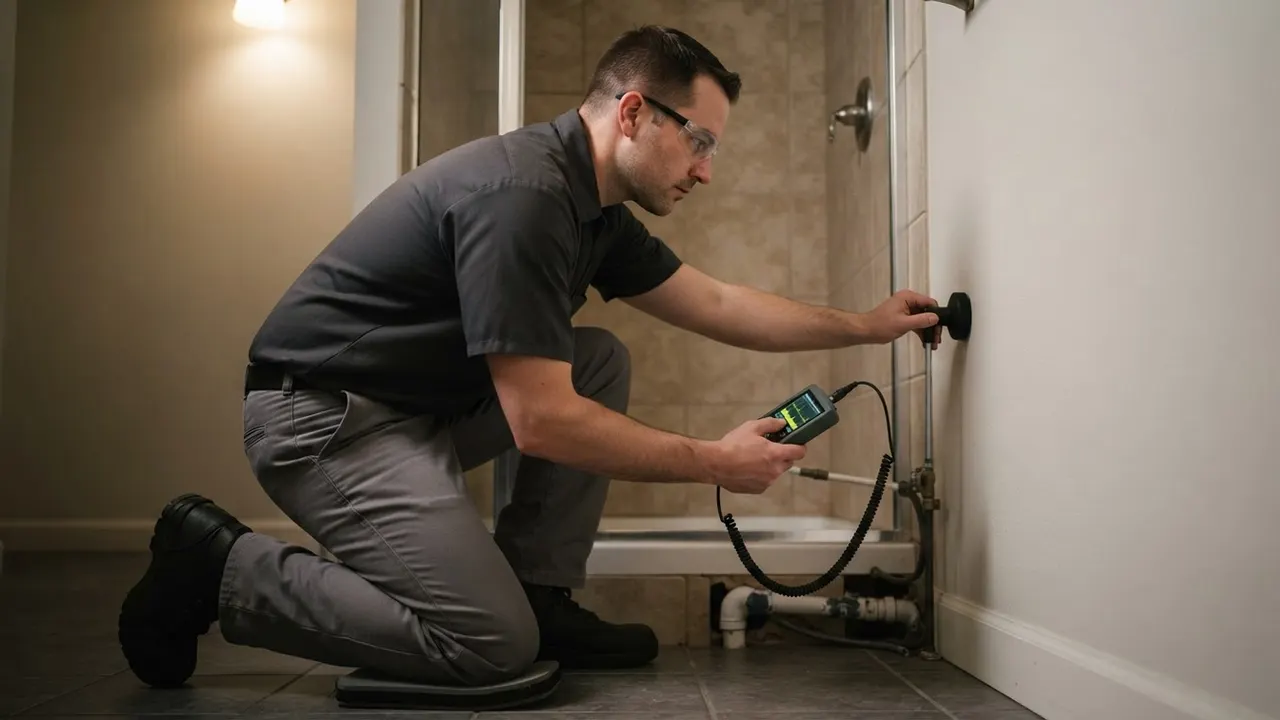
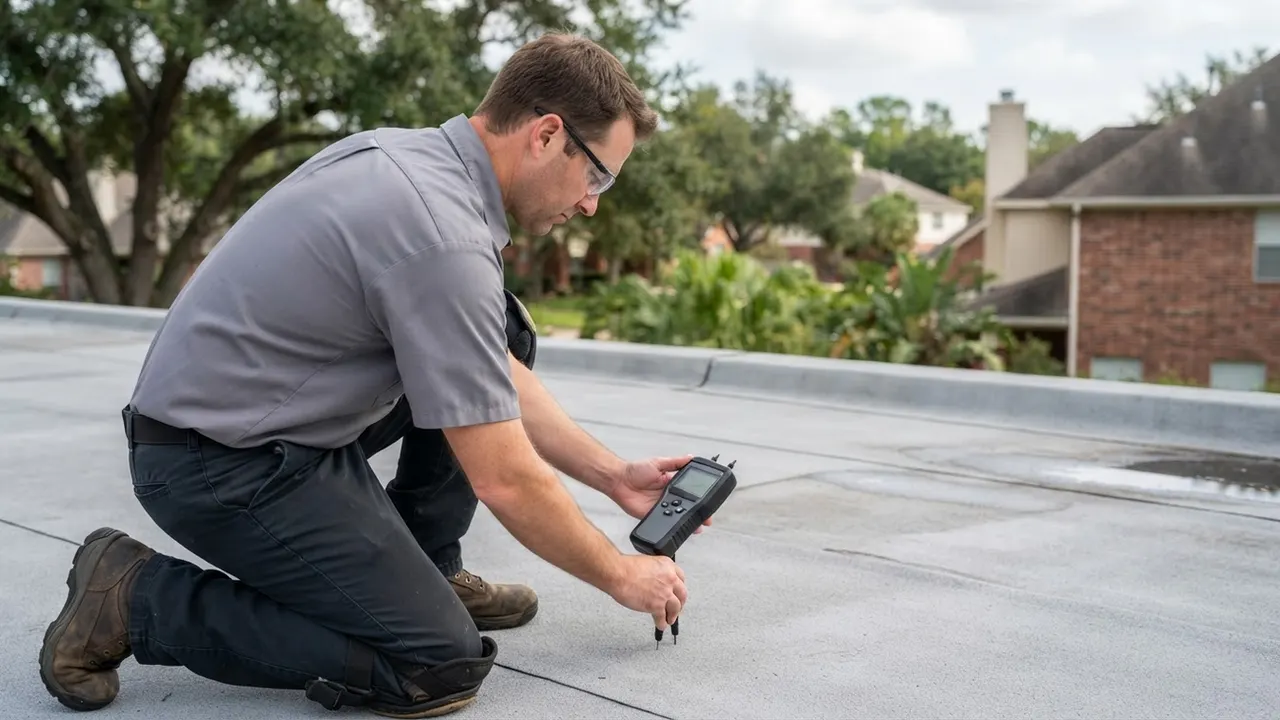
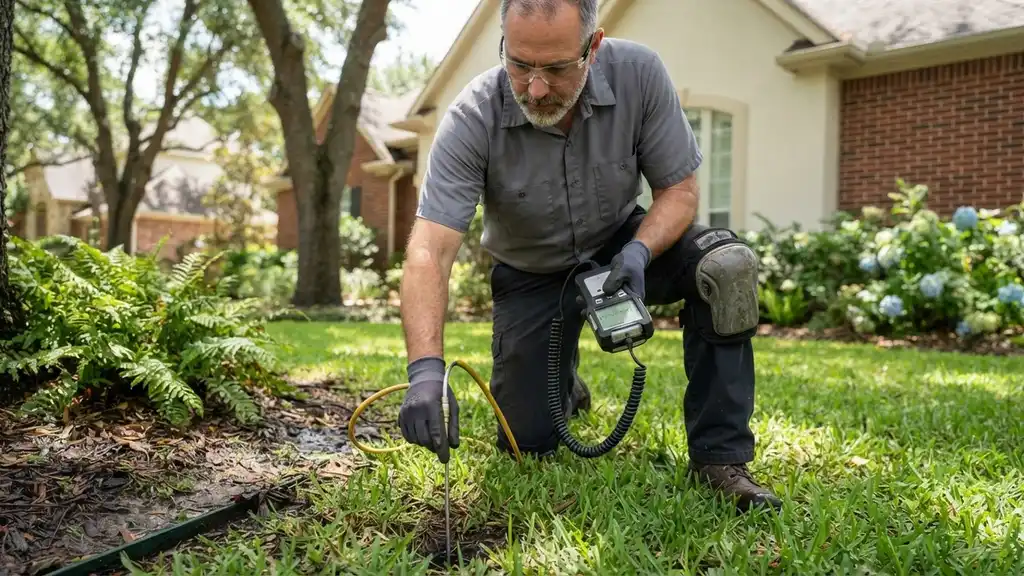
We sweep the coil, fittings, and line set with an electronic leak detector, then confirm the spot with a thermal imaging camera or tracer gas. For concealed line sets in walls or ceilings, tracer gas mixed with nitrogen makes the leak readable without cutting drywall. You see the reading and the location before we quote the repair.
04
Repair and Test
We repair the leak with the correct method for the material: brazing or solder on copper, flare fittings, or a valve replacement. After the repair, we pull a vacuum to 500 microns and pressure-test the circuit again. The system is not refilled until it holds, which is how we know the repair will last.
05
Recharge and Verify
Once the circuit holds, we recharge to the manufacturer's nameplate weight and verify superheat and subcooling at the operating conditions. The technician checks the condensate drain and float switch while the system runs, then walks you through what was found and what was fixed. You get the readings in plain language.